It sure takes time to learn the ropes when it comes to 3D printing. It doesn’t help that the technology is never like we’ve seen before. The craze for 3D printing is growing each day and it will do us good to stay on top of it all.
Contrary to how most 3D Printer selling companies advertise their products, getting a decent and usable 3D printed object actually takes time, skill and perseverance. It is not child’s play, even though that is what the salesman will tell you.
Despite relative ease on 3D printing in some machines and models, you cannot leave them unsupervised, and it is also not as simple as pressing “Print” on a file you unzipped from the internet.
When it comes to 3D Printing, you probably know that the parameters should be proper if you want the machine to make a decent print. Depending upon the type of plastic you employ, be it PLA or ABS variety, and the temperature, structure and other factors specific to your print, you’ll have to modify your parameters.
You might also need to rotate the object(s) a few ways to know the best angle to print them in. Other times, it might be better to break up the object into its component pieces, and assemble them once the printing is finished, using some glue.
We assume you know at least some of that stuff while writing this guide. In case you have trouble following any term, you can look up your 3D Printer’s user manual.
But of course, we’re here to help you with most things, so you can start making 3D Prints like a pro in no time! Here are the top 10 3D Printing Tricks that can help you learn the ropes faster as well as get better prints each time.
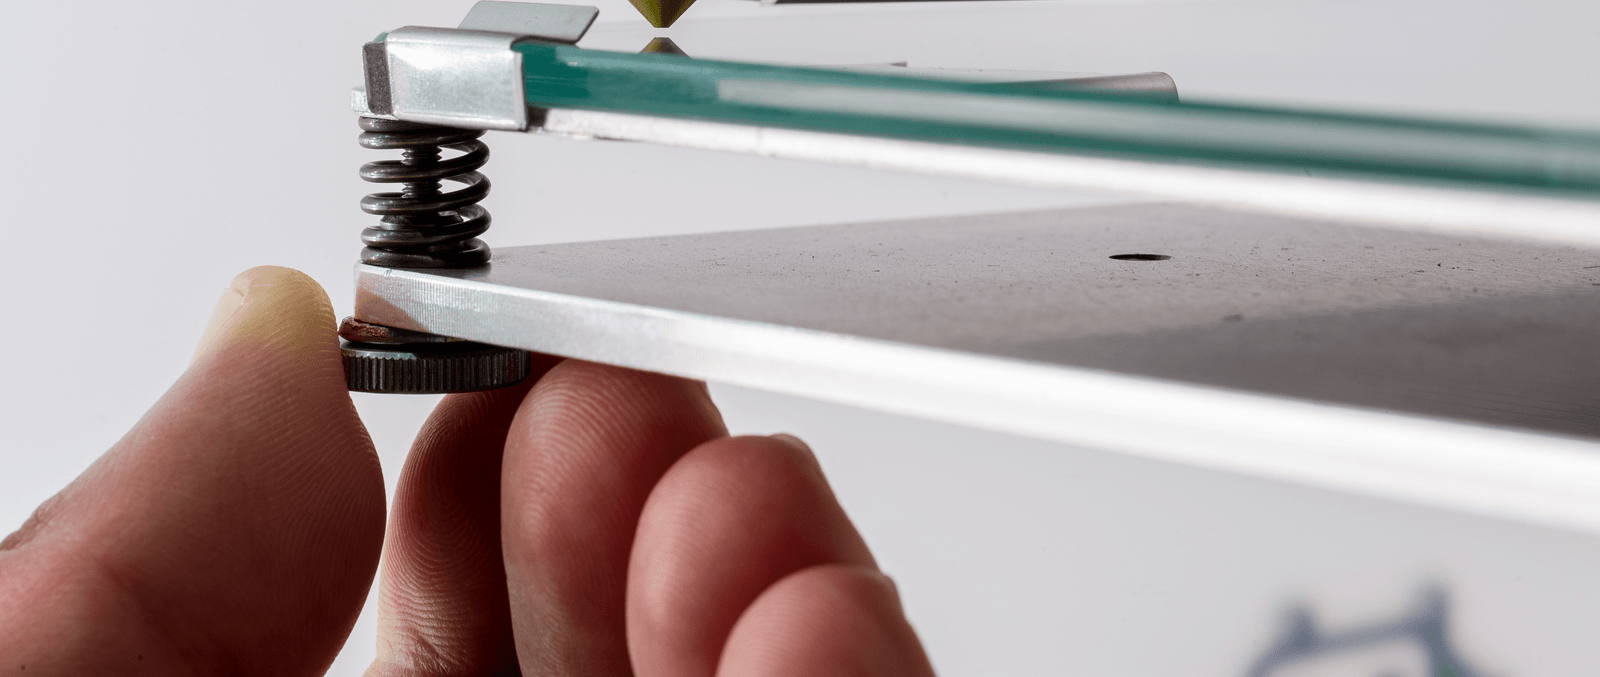
The most overlooked part of a 3D printing is by far the part upon which the entire printed object rests. And that is the Print bed. The print bed is that sheet of translucent or transparent plastic or fiber. It might or might not be heated, though heated plates are prefered for certain plastic input materials. It might or might not have markings as well.
This plate is important because it is here that your 3D printer will form the crucial first layer. It is also here that you will be struggling to free your freshly 3D Printed object. So it would seem to be a quarrel between too much adhesion in the latter case and too little adhesion in the former. But it is not that simple.
With time, you learn how much adhesion is desirable with each sort of object and printing material. But apart from that, the texture of the printing bed, the abrasion and the temperature can all make or break your print.
Here’s the tricks you can use. You’ll just have to experiment with some old school hit and trial with the temperature to which you should heat your plate in case you need to. But for the rest, there are some easy techniques to implement.
Use acetone to rub in a piece of failed print into the surface of the plate. The acetone dissolves a tiny bit of the plastic and it latches onto the plate. Allow the acetone to evaporate. Remove any visible chunks of plastic that may be on the plate by lightly tapping the surface in an upright position (optional). And you can use the plate to print your objects, and they won’t cling to the surface as hard, or come out as jagged. Many also use things like glue or tape to make separation easier, but you might not get the best results with that every time.
Or, you can simply sand the surface with some fine sand paper. Don’t use ones with big grain. Your hardware store salesman should be able to guide you. You just need to get it a little roughed up. You can always use the other side if you want a smooth surface.
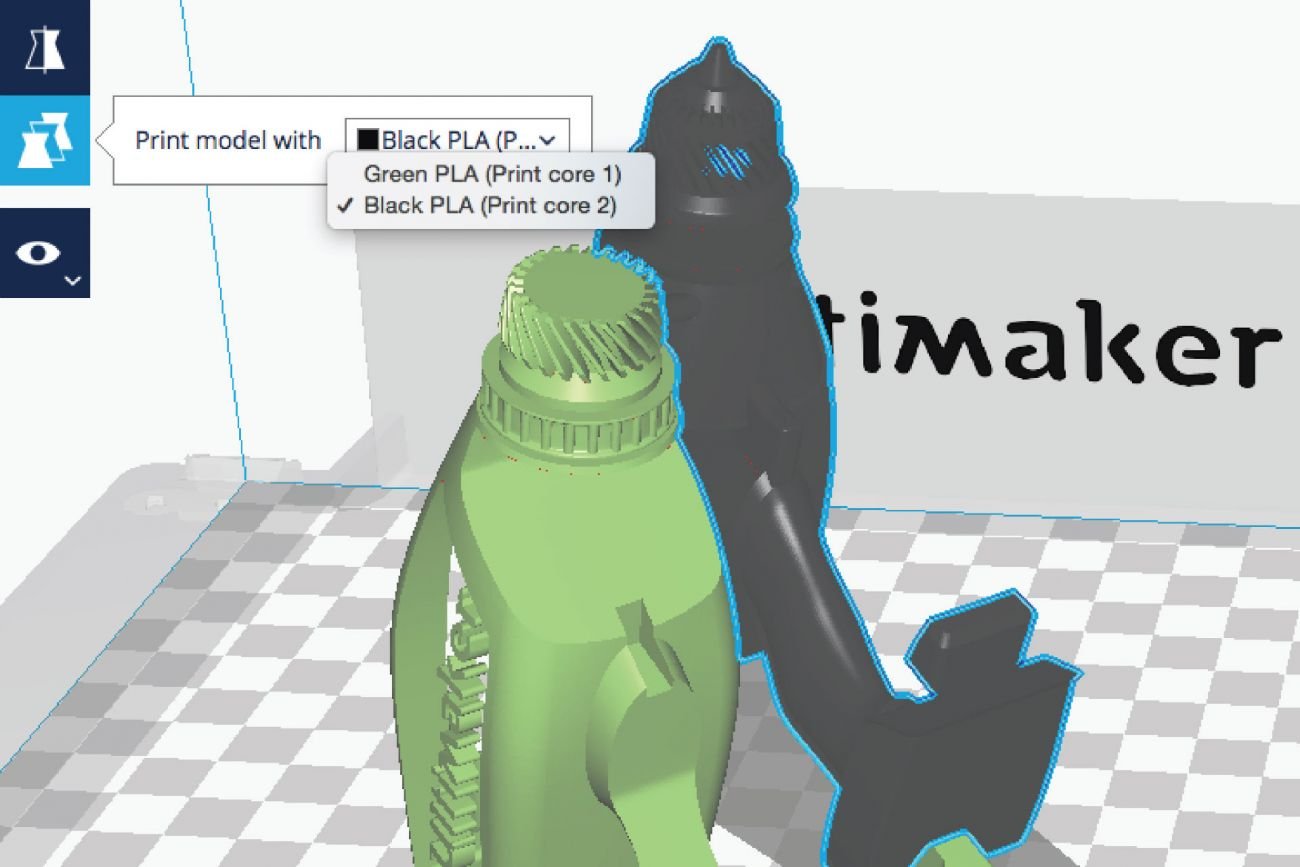
The problem with using a 3D printer is that it prints an object pretty slowly. It can be tempting to put in a long stack of objects into the commands, but almost everyone who’s tried that has always failed.
Most people end up getting a long spool of ribbons all interlaced into each other to create one giant fluffy mess, and the objects are effectively junked. You can take them out one by one, cut off the ribbons, shave a bit of the thickness on each surface and polish it.
But it is far too tiring, demands exclusive attention and lots of labour, and the results are usually sub-par.
Why does this happen? Well it is usually because the hot plastic being extruded out of the nozzle(s) is not the most solid or otherwise stable object around.
If there is a prolonged lack of contact, the plastic forms wild ribbons that splay around as randomly as they can, and you end up with a big ball of plastic fluff. Given how expensive the spools of plastic input can be, this accounts for a huge wastage of resources, and it’ll cost your wallet quite a lot of bucks to get over it.
Plus, given the amount of labor and time that will go into polishing and finishing your pieces, getting rid of all that wasted plastic, you’ll end up with more inconvenience and waiting periods than you or your customers hoped for.
So do yourself a solid, and print one object at a time. It’ll save you time, money and labor.
We’ve all tried printing toys and trinkets with 3D printers. It is fun, entertaining and frankly, it never ceases to amaze me how much I can do with my machine. But if you’ve ever tried printing out a charizard figure, chances are the pieces protruding outside the main body like the wings, the the tail and the head have come out droopy, like a bad botox job.
Well, you have the unstability of hot plastic to blame. The problem is not as common with 3D pens, since any bends and breaks can be immediately corrected by manual force.
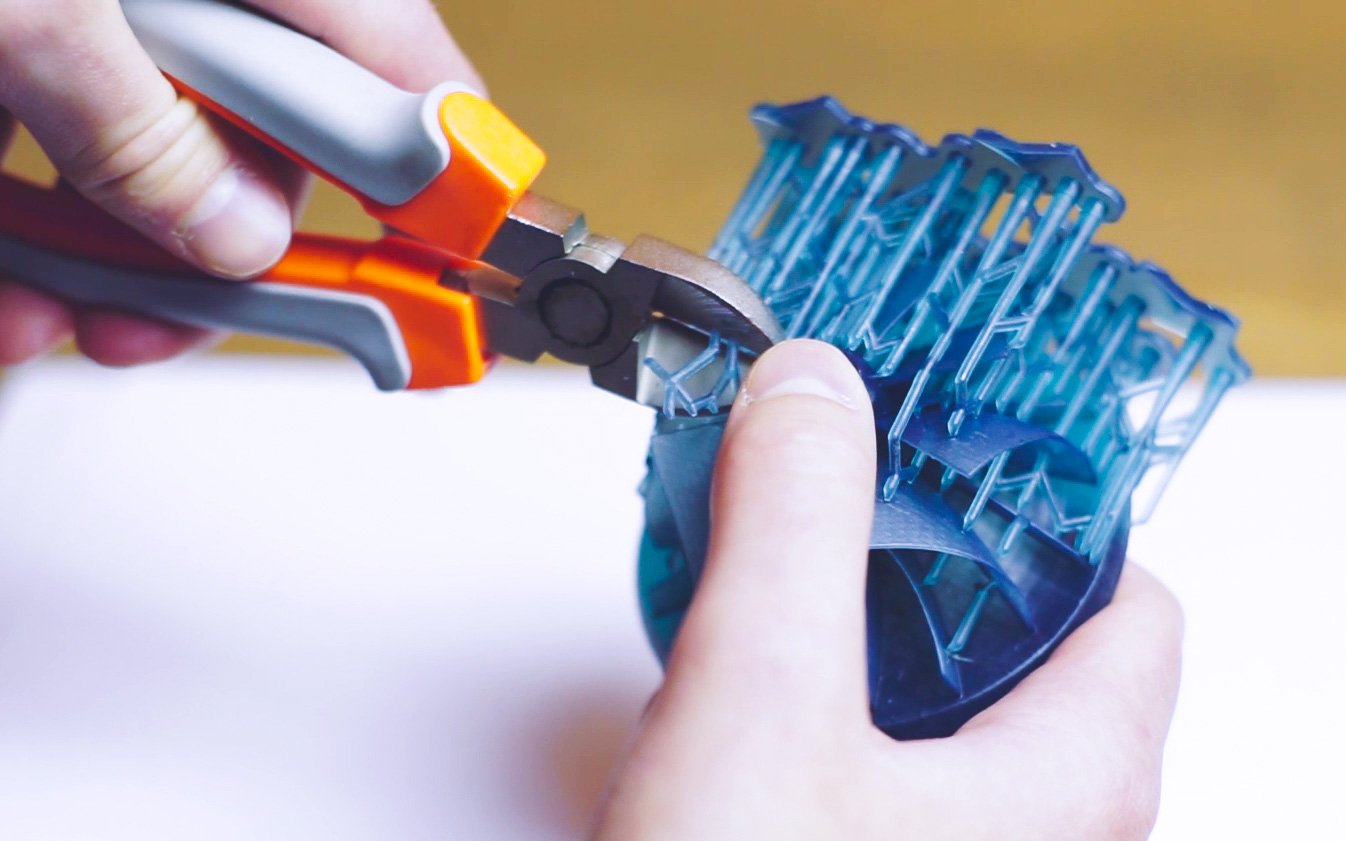
But for 3D printers, where the objects are too hot to handle, plus the interfering moving parts, it can be a whole lot of time spent into printing the object gone to nothing. The hotter the temperature, the more likely it is that your 3D printed object droops or distorts with gravity. So, it is best to work in some supports.
There are software that can help you tell if you should include supports or not, and if yes then where and how many. Even if you don’t you can put surfaces higher up and jutting out on stilts in the design, and the printer will get you your desired object.
You can cut out the stilts later and if need be, polish the object to get a finer finish. If you don’t want to use supports, you can always choose to make solid objects instead of hollow ones, though it takes more time and resources that way. Solid objects are not guaranteed to not droop, but it is definitely better than a hollow object, don’t you think? Decreasing the temperature may work as well.
The first trick we talked about was preparing your printing bed. The printing bed is the transparent sheet on which the probe moves, and it is notorious for grabbing onto your printed pieces like a clamp. You can settle this by making light abrasions on the printing bed using sand paper. You can also spread some acetone on the bed using an old 3D print and letting it dry. Many also use glue and tape.
The second trick is to not line up multiple objects to be printed one after the other in the same printing session, or you’ll get frayed ribbons of plastic that you’ll have to discard, lowering your finish as well as causing wastage of time and resources.
Next, it was printing parts that jut out of your object using supports.
The fourth was to not print with the long edge on the printing plate, or your object will get a chipped edge or surface.
Fifth, we talked about not going overboard with leveling, and the different ways you could make sure your printing tray was properly leveled if you didn’t have laser leveling feature built in.
Putting in a lip and an extra height in the object was sixth, which helps separate the object better and also leaves scope for polishing and finishing.
Seventh, we talked about getting power backup to avoid your perseverance and hard work going down the drain if the lights went out.
At number eight, we discussed learning from our mistakes and how it accelerated development of our expertise in 3D Printing.
Ninth was the benefits of joining and following a 3D printing forum so you could follow the latest trends and techniques as well as learn quicker and more easily.
And finally, we ended with the need to get creative with our 3D printing, given how 3D Printing is more an art than a mechanical everyday routine for most of us.
I hope this helps you learn the ropes faster. I’d love to know your questions on 3D printing technique in the comments below, maybe we could add to this list from your queries.